Birdcam1 – still checking it out, no sign of nest building yet
Birdcam 20090314 – Day 3
15 03 2009Comments : Leave a Comment »
Tags: birdcam bird webcamxp
Categories : birdcam, Uncategorized
Birdcam 20090313 – Day 2
15 03 2009Birdcam1 – Mate has paid a visit to check suitability
Comments : Leave a Comment »
Tags: birdcam bird webcamxp
Categories : birdcam, Uncategorized
Birdcam 20090312 – Day 1
15 03 2009First visit of the year to Birdcam1
Comments : Leave a Comment »
Tags: birdcam bird webcamxp
Categories : birdcam, Uncategorized
Birdcam 2009
15 03 2009In February we setup our back garden to allow remote viewing of our birdboxes, last year was a bit of disaster with the DIY Infra-red not working resulting in just a black screen.
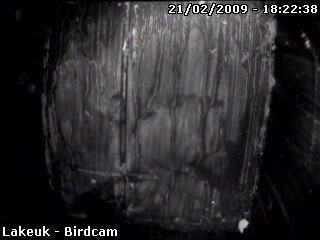
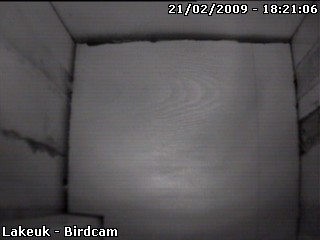
This year we’ve expanded, we’ve got two birdboxes now, each has a cheap ccd colour IR mini camera which due to the darkness mostly view in b&w. These are linked to a video switch box in our shed which links into a 10 year old PC comprising of various salvaged/recycled parts including my old analogue TV decoder card.
Following are photos inside the two birdboxes, birdbox1 & birdbox2, as the PC only takes one video input the video switchbox is used to change camera view – this will be one area of improvement for future years.
To take the video feed from the tv card I’m using WebcamXP which is free for a single video input, it has some great features including local webserver for viewing video, snapshots and motion detection which we’ve set to record a 30sec videoclip when motion is detected.
So we don’t always have to be in the shed to view whats going on in the birdboxes a new improvement this year is to make the setup wireless, for this the following items were purchased:-
- Edimax High-Gain USB Adapter – amazon
- 2 x 6m wifi antenna rp-sma coaxial cable – ebay
- 2 x 12dbi 2.4ghz booster antenna – ebay
Generally having a long length of cable between the router and aerial affects the signal, but being able to position the aerials in line of sight has made a big difference to the reception out weighing any negitives of the long extension cable. So now the birdcam can be view from inside the house and can be viewed wireless anyway in the house/garden on my ipod touch.
Comments : Leave a Comment »
Tags: birdcam, webcamxp
Categories : birdcam, Uncategorized
DVBViewer & C# – Getting Started
27 09 2008I do all my development within Virtual PC which I recommend, it allows you to test software without worrying that it’ll cause problems with your main windows installation.
I’m starting this series on posts (don’t expect them to be regular) to document my learning curve in trying to program in C# using dvbviewer and hopefully get other dvbviewer users interested and hopefully create a english knowledge base
So to start of you’ll need to download/install the free Visual C# version of Visual Studio Express 2008 (recommend doing offline install), then follow the next steps:-
Launch DVBViewer (this needs to be left open as this is what your C# program will comunicate with)
Launch Visual C# and start a new project [File], [New Project…]
select ‘Windows Forms Application’ as your template and give it a name (eg MyDemo), then [OK]

You should now see a form like below,

next we need to set a reference to DvbViewer, select menu [Project], [Add Reference…], Tab ‘COM’, scroll down to DVBViewer COM, highlight and click [OK]

You should now see DVBViewerServer appear in references on the Solution Explorer (right side of screen)
From your toolbox on the left drag onto your Form1 a ‘Label’ and a ‘Button’ as shown below

Double click on [button1], you’ll be taken to the code behind the button, we’re going to write some code here to pull some data from DVBViewer when the button is clicked.
First at the top of our code we need to declare that we’ll be using the dvbviewer reference we added earlier by added the following line
using DVBViewerServer;
Then within our button1_Click sub we add the following lines, first binds the dvbviewer object to a variable type name (saves us having to retype), and the second line will set lablel1 to a value from dvbviewer when the button is pressed :-
DVBViewer dvb = (DVBViewer)System.Runtime.InteropServices.Marshal.GetActiveObject("DVBViewerServer.DVBViewer");label1.Text = dvb.TimerManager.Count.ToString();

This is all the coding we’re going to do so it’s now time to test our simple application, click the start debugging button [>] or press F5
Click [button1] and your label1 will change to a number that represents the number of timers you got waiting in your Dvbviewer timer. Go into dvbviewer and add another timer, save it and the click [button1] again, it should increase.

Comments : 2 Comments »
Tags: c#, dvbviewer, tv
Categories : c#, dvbviewer, Uncategorized
